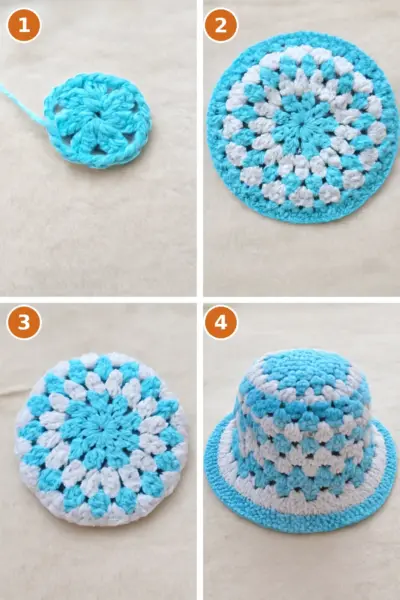
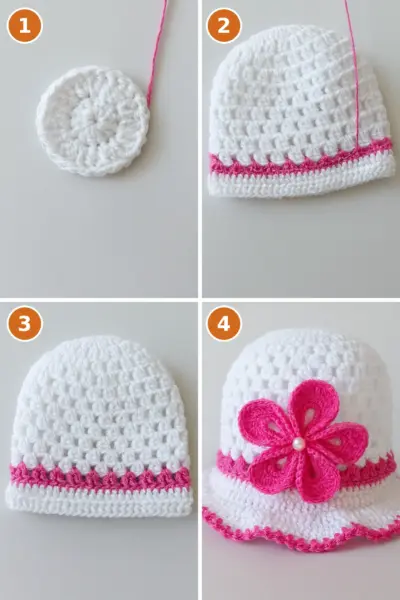
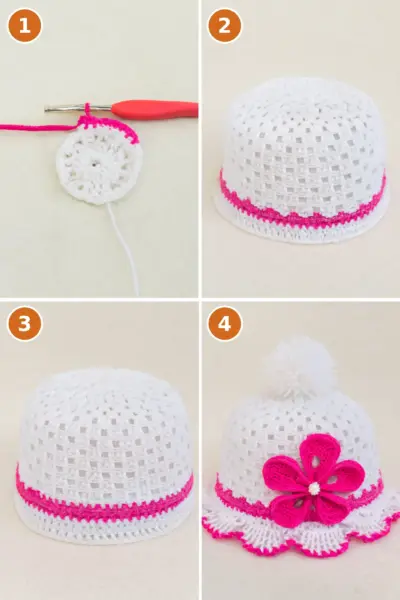
Introduction
Create a lovely crochet sun hat that is both stylish and functional for all your summer adventures. This project is great for beginners and uses basic crochet techniques to keep it simple. You’ll enjoy the satisfaction of crafting your own headwear while staying protected from the sun.
Materials You’ll Need
- Yarn: Cotton or raffia yarn (worsted or DK weight)
- Crochet Hook: 3.5mm – 5.0mm (check yarn label and gauge)
- Stitch Markers: Optional, but helpful for keeping rounds aligned
- Tapestry Needle: For weaving in ends
- Scissors: For trimming yarn
- Measuring Tape: To check fit
- Wire: Millinery wire to stiffen the brim (optional)
- Ribbon: Decorative band for style or tie (optional)
Finished Size
- Head circumference: ~22 in (56 cm)
- Crown diameter: ~7 in (18 cm)
- Hat height: ~6.5 in (16.5 cm) before brim
- Brim width: ~3–4 in (7.5–10 cm)
Difficulty Level
This pattern is classified as easy, making it suitable for those who are new to crochet but comfortable with basic stitches.
Abbreviations
- ch: chain
- sl st: slip stitch
- sc: single crochet
- dc: double crochet
- inc: increase (2 stitches in 1 stitch)
- dec: decrease (combine 2 stitches into 1)
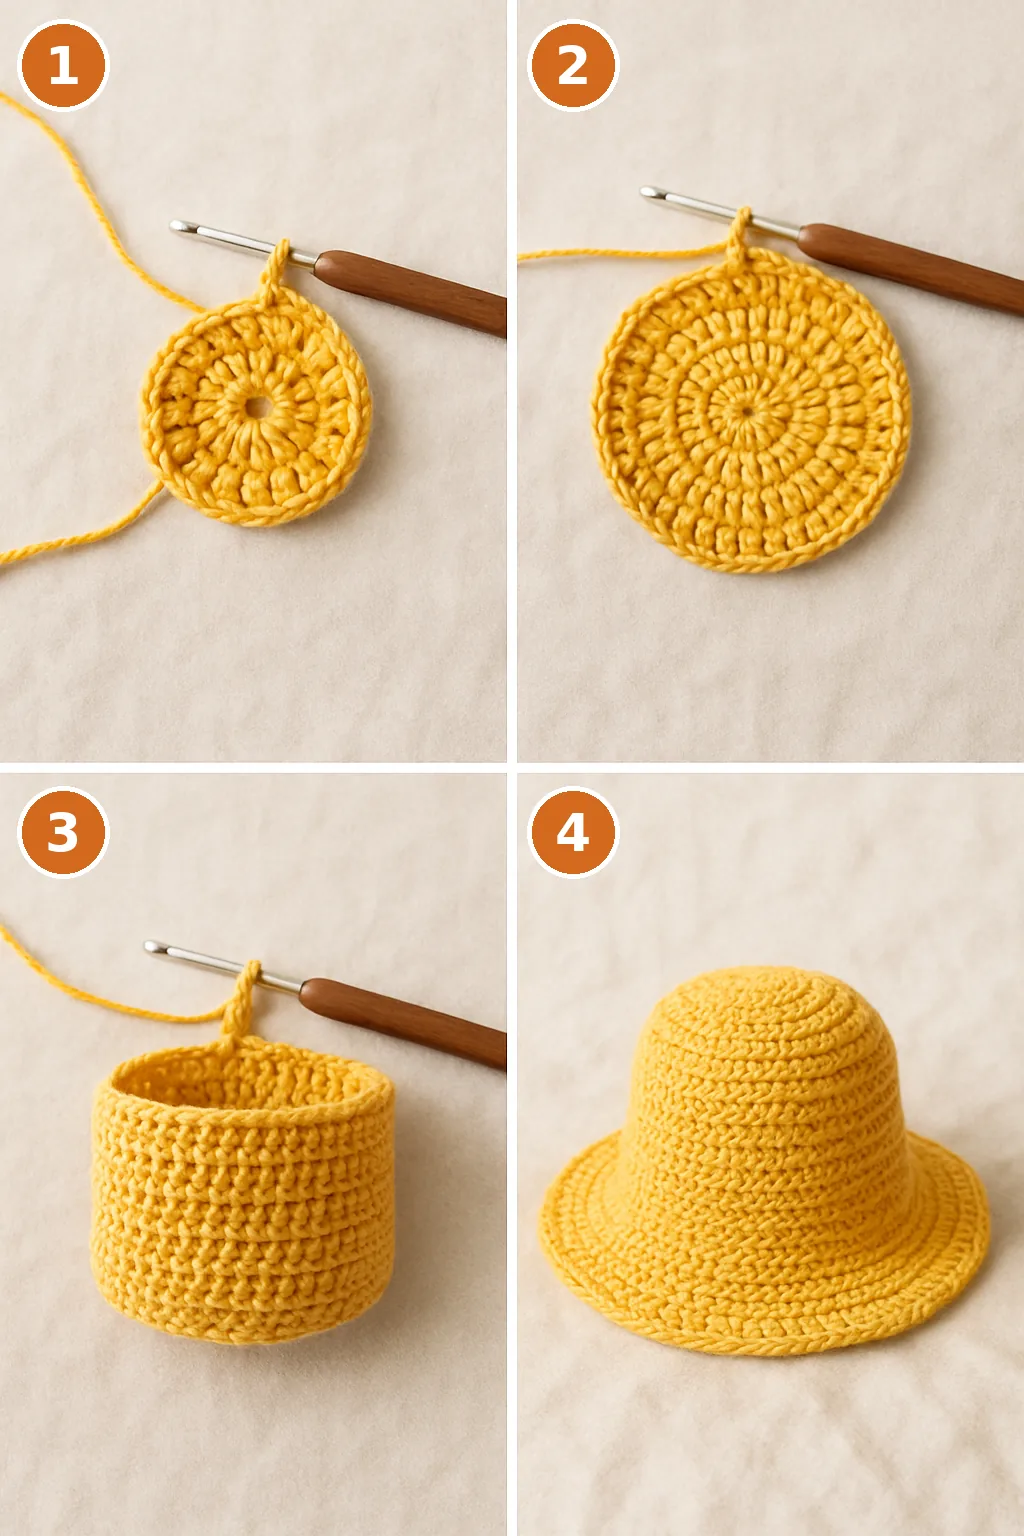
Crochet Pattern / Step-by-Step Instructions
Step 1: Create the Top Section of the Hat
- Rnd 1: Magic ring, ch 2, 12 dc into the ring. Join with sl st. (12 dc)
- Rnd 2: Ch 2, work 2 dc in each stitch around. Join. (24 dc)
- Rnd 3: Ch 2, 1 dc, then 2 dc in the next stitch; continue around. Join. (36 dc)
- Rnd 4: Ch 2, 2 dc, then 2 dc in the next stitch; repeat this pattern. Join. (48 dc)
- Rnd 5: Ch 2, 3 dc, then 2 dc in the next stitch; repeat. Join. (60 dc)
- Continue increasing: Keep adding 12 stitches every round until the crown reaches approximately 7 inches in diameter.
Step 2: Construct the Body of the Hat
- Next 10–12 rounds: Chain 2, then work 1 dc in each stitch around. Join with a slip stitch.
- For snug fitting: Add a single crochet round every few rounds to gently pull in the sides for a better fit.
Step 3: Create the Flared Brim
- Start increasing: Round 1: 4 dc, then 2 dc in the next stitch; repeat around. Join.
- Round 2: 5 dc, then 2 dc in the next stitch; repeat. Join.
- Round 3: 6 dc, then 2 dc in the next stitch; repeat. Join.
- Keep increasing: Continue to increase either every round or every other round based on how wide or ruffled you desire the brim to be.
- Brim Customization Options: For a flat and structured brim, increase gradually and add a single crochet edging. For a ruffled or floppy brim, increase more quickly.
Step 4: Complete the Edging
- Final Round: Chain 1, then single crochet in each stitch around. Join with a slip stitch and fasten off.
- Optional: Insert millinery wire into the last row and single crochet over it to stiffen the brim. Add a decorative edge by working a row of reverse single crochet.
Helpful Tips
- Always check your gauge to ensure correct sizing.
- Use stitch markers to track the beginning of each round.
- For a child or baby version, use fewer crown increases and shorter sides.
- Be patient—structure and neatness matter more than speed!
Customization Ideas
- Ribbon Band: Weave a ribbon around the base of the crown for added flair.
- Tie Straps: Crochet two long chains and attach them under the brim for securing.
- Flower Appliqué: Add a small crochet flower or button for embellishment.
Care Instructions
To shape and stiffen your sun hat, lightly spray with water or steam. Shape it over a bowl or balloon the size of a head and let it dry completely. Optionally, you can stiffen the brim using fabric stiffener spray or starch.