Introduction
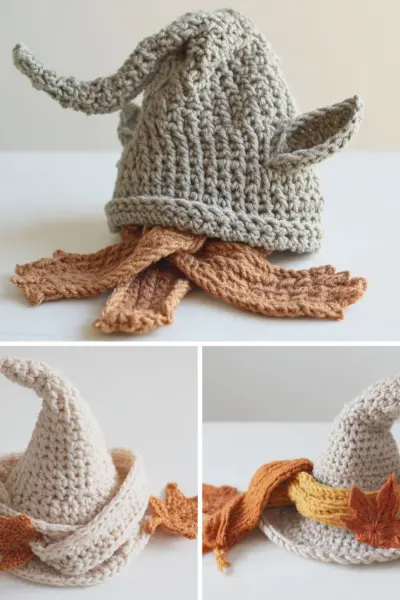
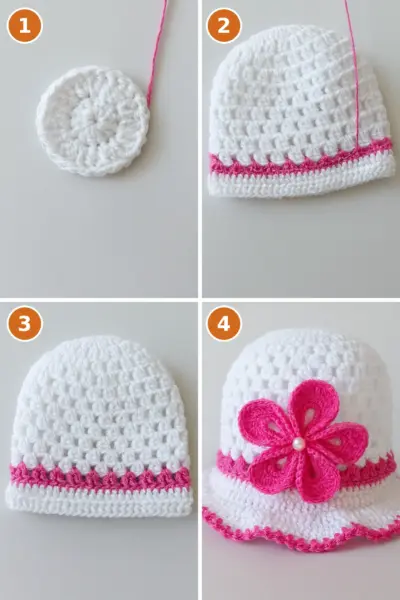
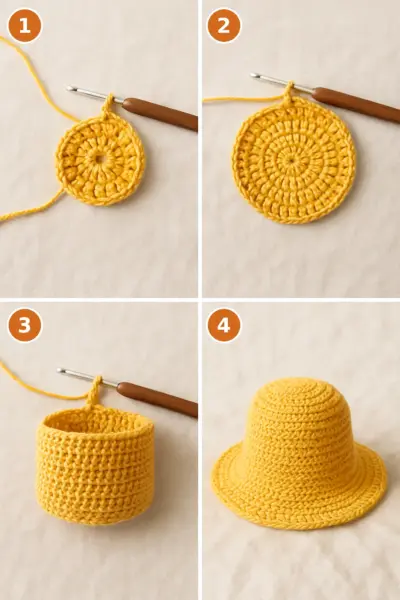
Crocheting a hat for girls is a delightful project that allows for creativity and customization. This tutorial will guide you through each step of creating a beautiful and functional hat suitable for various ages. Whether you choose to add embellishments or keep it simple, this hat will surely be a favorite!
Materials You’ll Need
- Yarn: Worsted weight yarn (acrylic, cotton, or a blend) – approximately 100–150 yards.
- Crochet hook: 5.0 mm (H-8) or the size required to achieve the correct gauge.
- Stitch markers: To indicate the start of each round.
- Tapestry needle: For weaving in loose ends.
- Scissors: For cutting the yarn.
- Optional: Buttons, bows, ribbons, flower appliqués, or pom-poms for added decoration.
Hook Size
Use a 5.0 mm (H-8) crochet hook for this project to achieve the best results.
Difficulty Level
This project is classified as Easy since it primarily uses basic double crochet stitches and simple increases.
Abbreviations
- ch: chain
- sl st: slip stitch
- sc: single crochet
- dc: double crochet
- inc: increase (2 stitches in 1 stitch)
- Fpdc: front post double crochet
- Bpdc: back post double crochet
Crochet Pattern / Step-by-Step Instructions
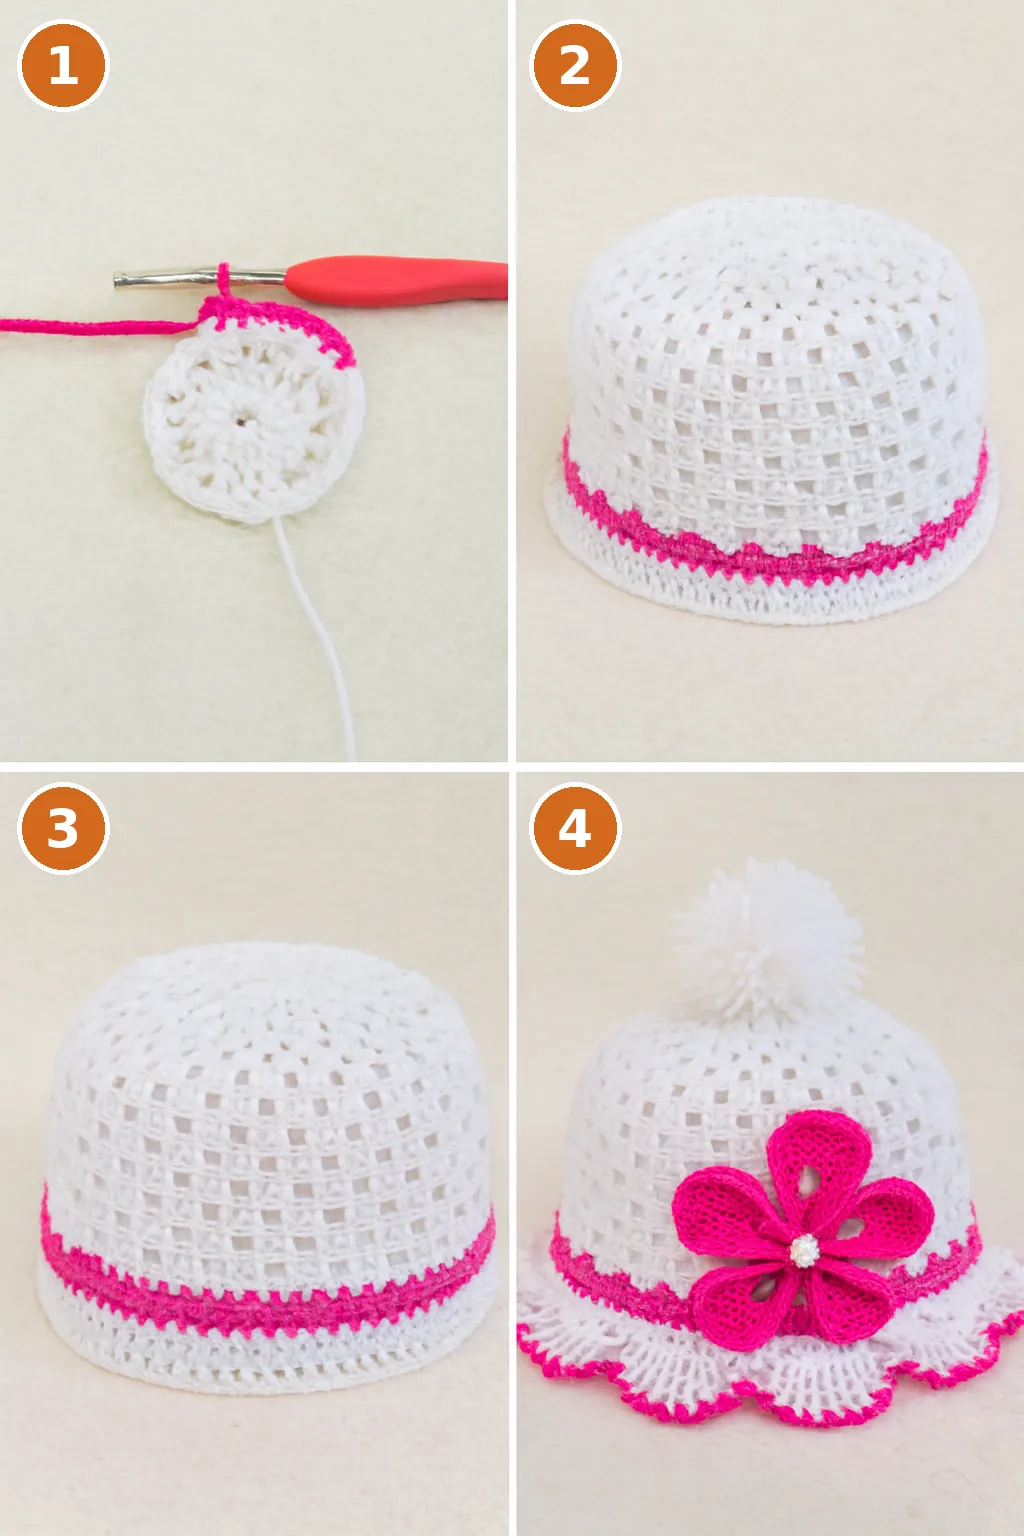
Step 1: Create the Top of the Hat
- Rnd 1: Ch 2 (this counts as your first dc), then make 11 dc into the ring. Join with a sl st. (12 dc)
- Rnd 2: Ch 2, then place 2 dc in each stitch around. Join. (24 dc)
- Rnd 3: Ch 2, 1 dc in the next stitch, 2 dc in the following stitch. Repeat this pattern around. Join. (36 dc)
- Rnd 4: Ch 2, 1 dc in the next 2 stitches, 2 dc in the next stitch. Continue this pattern. Join. (48 dc)
- Rnd 5: Ch 2, 1 dc in the next 3 stitches, 2 dc in the next stitch. Repeat. Join. (60 dc)
- Continue increasing: Keep adding 12 stitches for each round until the crown’s diameter measures approximately 6–6.5 inches (15–16.5 cm) for older girls or 5–5.5 inches for toddlers.
Step 2: Form the Hat’s Body
- Rounds 6–13: Ch 2, then make 1 dc in each stitch around. Join with a sl st.
Optional Step: Create a Textured Finish
- Last 2 rounds: Alternate between Fpdc and Bpdc around to add texture.
Step 3: Personalize Your Hat
- Crochet Flower Appliqué: Start with a magic ring, ch 2, and work 10 dc into the ring. Join. Then, ch 2, work 3 dc in the same stitch, ch 2, and sl st in the next stitch. Repeat this process to create 5 petals.
- Bow or Ribbon Decoration: Make a simple rectangle and wrap a length of yarn around the center to form a bow.
- Pom-Pom Top: Finish off your hat by adding a colorful pom-pom for a fun touch.
Step 4: Final Touches
- Finishing: Use a tapestry needle to weave in all loose ends. If necessary, lightly steam or block the hat using a damp cloth. Be sure to try the hat on to check the fit!
Customization Ideas
- Slouchy Hat: Add 2–3 more rounds before the brim.
- Earflap Hat: Attach flaps on each side after finishing the body.
- Beanie with Brim: Incorporate 1–2 rounds of sc with slight increases at the front for a brim effect.
- Lightweight Summer Cap: Opt for cotton yarn and use mesh stitches with a combination of double crochet and chain patterns.
Helpful Tips
- Use soft, washable yarns suitable for children.
- Measure against a child’s existing beanie or try it on as you progress.
- Feel free to mix colors or create stripes for a unique look.
- Make it enjoyable! Allow your little one to pick colors or decorative elements.
Frequently Asked Questions
Q: What size hook should I use?
A: A 5.0 mm (H-8) hook is recommended.
Q: How can I customize the hat?
A: You can add embellishments like flowers, bows, or pom-poms. You can also adjust the style to be slouchy or add earflaps.
Q: What type of yarn is best for this project?
A: Worsted weight yarn, either acrylic, cotton, or a blend, is ideal.
Q: How do I ensure the hat fits properly?
A: Measure the child’s head and adjust the crown size accordingly during the increasing rounds. Try the hat on as you work.
Q: Can I wash the hat?
A: Yes, using washable yarns is recommended for easy care.
Conclusion
Creating a crochet hat for girls is not only satisfying but also a wonderful way to express creativity. With the steps provided in this tutorial, you can easily craft a charming hat perfect for any occasion. Enjoy your crocheting journey!