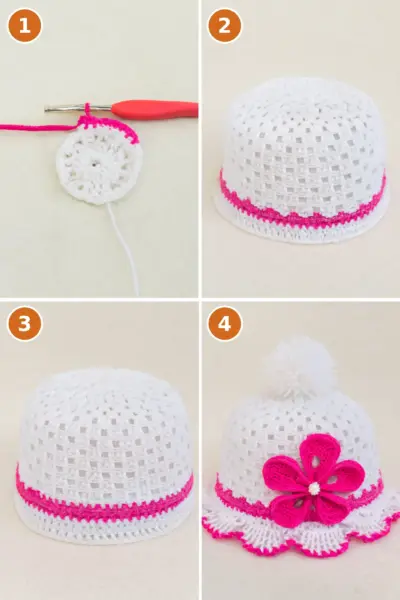
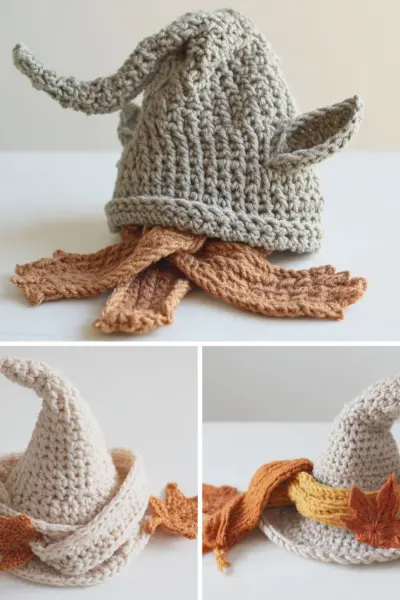
Introduction
This crochet sun hat pattern is both fashionable and functional, making it a must-have accessory for your summer wardrobe. This project is perfect for beginners, as it incorporates basic crochet stitches while offering a chance to explore your creativity.
Materials You’ll Need
- Yarn: Cotton or raffia yarn (worsted or DK weight)
- Crochet Hook: 3.5mm – 5.0mm (check yarn label for gauge)
- Stitch Markers: Optional for keeping track of rounds
- Tapestry Needle: For weaving in ends
- Scissors: For trimming yarn
- Measuring Tape: To check fit
- Wire: Millinery wire for stiffening the brim (optional)
- Ribbon: For decorative band or tie (optional)
Finished Size
- Head Circumference: ~22 in (56 cm)
- Crown Diameter: ~7 in (18 cm)
- Hat Height: ~6.5 in (16.5 cm) before brim
- Brim Width: ~3–4 in (7.5–10 cm)
Difficulty Level
This project is classified as Beginner due to the use of basic crochet techniques.
Abbreviations
- ch: chain
- sl st: slip stitch
- sc: single crochet
- dc: double crochet
- inc: increase (2 stitches in 1 stitch)
- dec: decrease (combine 2 stitches into 1)
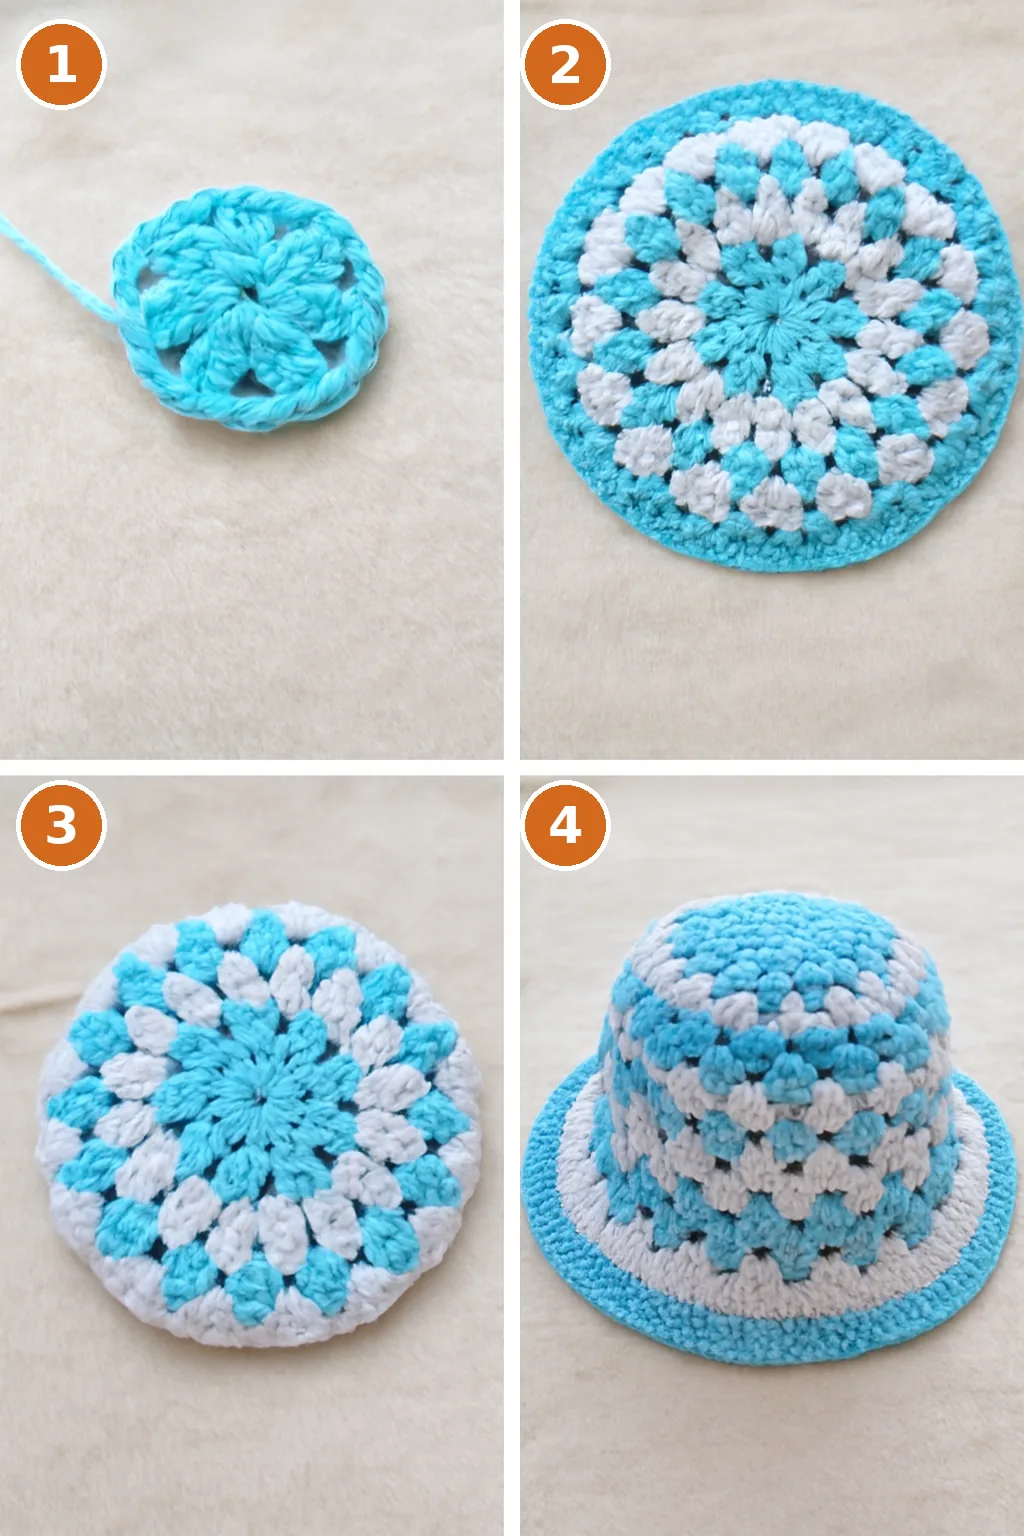
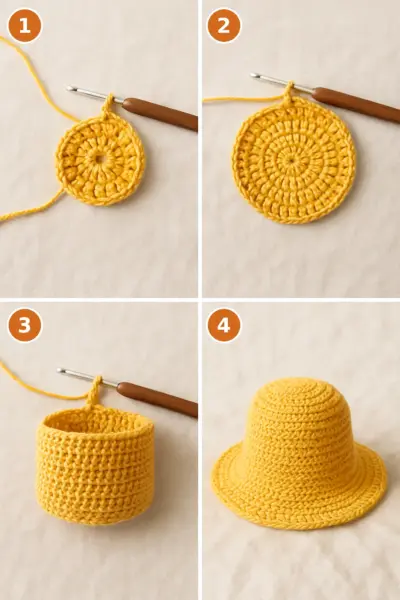
Crochet Pattern / Step-by-Step Instructions
Step 1: Create the Crown of the Hat
Rnd 1: Magic ring, ch 2, 12 dc into ring. Join with sl st. (12 dc)
Rnd 2: Ch 2, 2 dc in each stitch around. Join. (24 dc)
Rnd 3: Ch 2, 1 dc, 2 dc in next, repeat around. Join. (36 dc)
Rnd 4: Ch 2, 2 dc, 2 dc in next, repeat. Join. (48 dc)
Rnd 5: Ch 2, 3 dc, 2 dc in next, repeat. Join. (60 dc)
Continue increasing: Keep adding 12 stitches for each round until the crown reaches a diameter of approximately 7 inches.
Step 2: Form the Hat Body
Next 10–12 rounds: Ch 2, work 1 dc in each stitch around. Join with sl st.
Optional shaping: For a better fit, you can work a sc round every few rounds to gently tighten the sides.
Step 3: Create the Brim
Start increasing again for a flared brim:
Rnd 1: 4 dc, 2 dc in next, repeat around. Join.
Rnd 2: 5 dc, 2 dc in next, repeat. Join.
Rnd 3: 6 dc, 2 dc in next, repeat. Join.
Continue increasing: Keep increasing every round or every other round based on how wide or ruffled you would like the brim.
Step 4: Complete the Edge
Final Round: Ch 1, sc in each stitch around. Join with sl st. Fasten off.
Optional: Insert a millinery wire into the last completed row and sc over it to provide stiffness to the brim. Finish with a row of reverse single crochet for a decorative touch.
Customization Ideas
- Ribbon Band: Weave a ribbon around the base of the crown for added flair.
- Tie Straps: Crochet two long chains and attach under the brim.
- Flower Appliqué: Add a small crochet flower or button for embellishment.
Helpful Tips
- Always check your gauge for correct sizing.
- Use stitch markers to mark the beginning of each round.
- For a child or baby version, reduce crown increases and shorten sides.
- Patience is key—focus on neatness and structure.
Care Instructions
To shape and stiffen your sun hat, lightly spray with water or use steam. Shape it over a bowl or balloon that mimics the size of a head and allow it to dry completely. Optionally, you can stiffen the brim using fabric stiffener or starch.
Frequently Asked Questions
Q: Can I use a different yarn type?
A: Yes, but ensure it’s a worsted or DK weight for best results.
Q: How can I make the hat smaller or larger?
A: Adjust the number of stitches in the crown or the number of rounds in the body.
Q: Is this hat suitable for children?
A: Yes, just adjust the size by modifying the pattern.
Q: What if I want a wider brim?
A: Increase more frequently in the brim section as desired.
Q: How can I clean my sun hat?
A: Hand wash gently and reshape as necessary after drying.