Introduction
Creating a mini bonsai tree made of crochet is a delightful project that beautifully combines creativity and skill. This guide will equip you with the basic stitches and techniques you’ll need to make your own unique bonsai tree in a rock-textured pot. Whether you’re a beginner or just looking to refresh your skills, you’ll find everything you need right here.
What You Need to Start
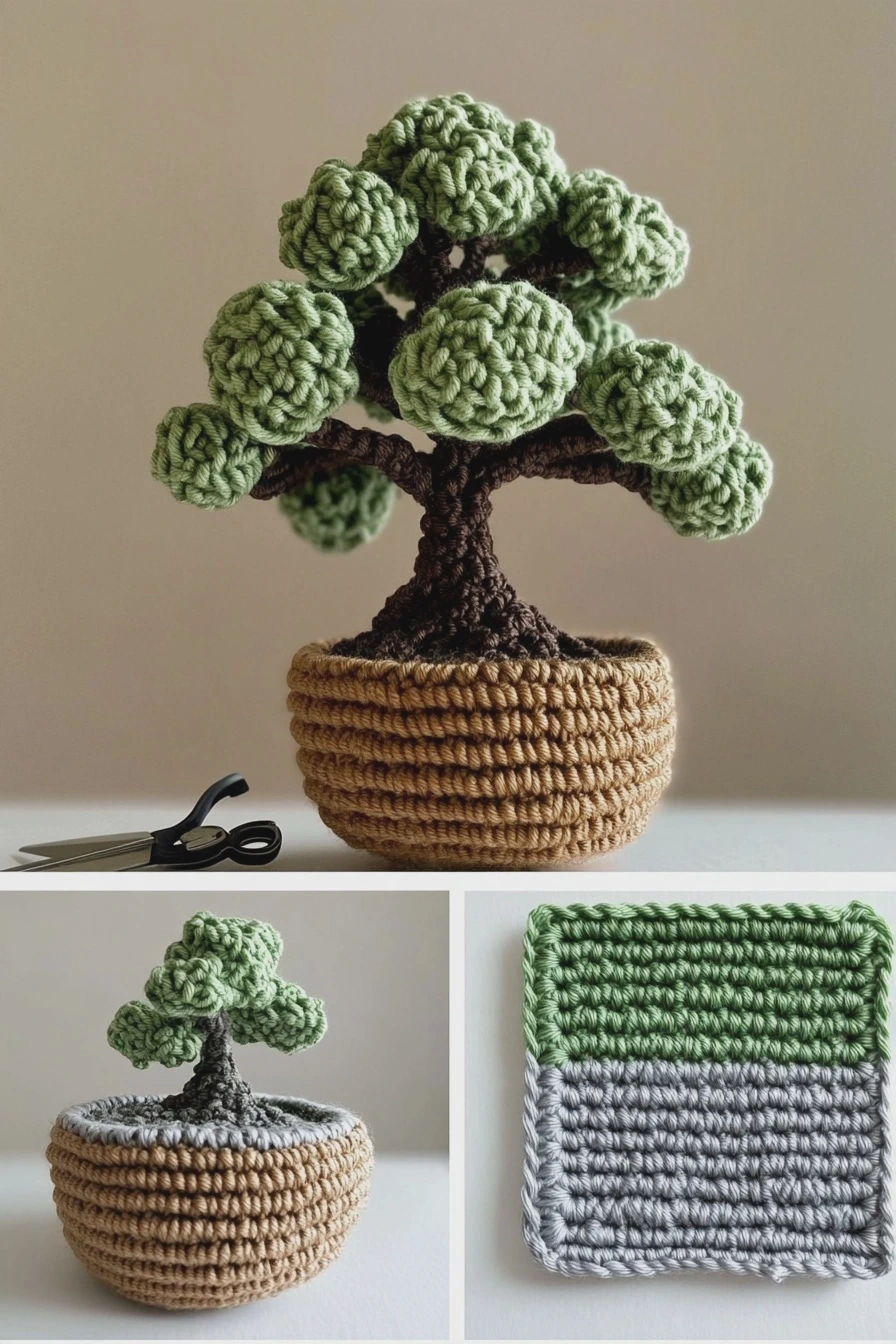
Before diving into the crochet pattern, gather the following materials:
– Yarn: Choose a green yarn for the leaves and a brown or beige yarn for the trunk.
– Crochet Hook: A size that matches your yarn, usually recommended on the yarn label.
– Scissors: For cutting the yarn.
– Tapestry Needle: For weaving in ends.
– Filler Material: Such as cotton or polyfill for stuffing the trunk.
– Pot: A small decorative pot to hold your bonsai tree.
Basic Stitches and Techniques
To create your mini bonsai tree made of crochet, you’ll need to master a few basic stitches and techniques. Here are six essential ones:
1. Chain Stitch (ch)
- What it is: A foundational stitch used to start most crochet projects.
- How to work it:
1. Hold the yarn with your fingers and create a slip knot.
2. Yarn over and pull through the loop on your hook.
3. Repeat to create the desired length. - Uses: Used for starting rows, creating foundations.
- Common mistake: Pulling the chain too tight, making it hard to work into later.
2. Single Crochet (sc)
- What it is: A basic stitch that creates a tight fabric.
- How to work it:
1. Insert your hook into the stitch.
2. Yarn over and pull up a loop (two loops on hook).
3. Yarn over again and pull through both loops. - Uses: Great for making the trunk and the pot.
- Common mistake: Skipping stitches, resulting in uneven fabric.
3. Half Double Crochet (hdc)
- What it is: A stitch that is taller than a single crochet but shorter than a double crochet.
- How to work it:
1. Yarn over, insert your hook into the stitch.
2. Yarn over and pull up a loop (three loops on hook).
3. Yarn over and pull through all three loops. - Uses: Perfect for creating the leaves of the bonsai tree.
- Common mistake: Not yarn overing before inserting the hook.
4. Slip Stitch (sl st)
- What it is: A technique used to join stitches or move along the crochet fabric without adding height.
- How to work it:
1. Insert your hook into the stitch.
2. Yarn over and pull up a loop (two loops on hook).
3. Yarn over again and pull through both loops. - Uses: Used to close rounds or join pieces.
- Common mistake: Making slip stitches too tight, which can affect the shape.
5. Increase (inc)
- What it is: A technique used to add stitches to a row, creating a wider shape.
- How to work it:
1. Work two stitches into the same stitch. - Uses: Used to shape the tree trunk or pot.
- Common mistake: Forgetting to count stitches, leading to uneven rows.
6. Decrease (dec)
- What it is: A method to reduce the number of stitches, creating a narrower shape.
- How to work it:
1. Insert your hook into the first stitch and pull up a loop.
2. Insert your hook into the next stitch and pull up a loop (three loops on hook).
3. Yarn over and pull through all three loops. - Uses: To shape the top of the bonsai tree.
- Common mistake: Not working into the appropriate stitches, causing uneven shapes.
Practice Swatch
Before starting your mini bonsai tree made of crochet, practice the stitches on a small swatch. Create a small square using single crochet and half double crochet to get familiar with tension and stitch uniformity. Aim for a gauge that feels comfortable, as this will affect the final look of your bonsai.
Step-by-Step Instructions
Creating the Trunk
- Start with your brown yarn and make a slip knot.
- Chain 10 for the base of the trunk.
- Work 8 single crochets into the chain.
- Turn your work and continue with single crochet for 5 rows.
- Stuff the trunk lightly with your filler material.
- Decrease to close the top of the trunk, working two single crochets together until closed.
Making the Leaves
- Switch to your green yarn.
- Begin by chaining 6.
- Work 5 half double crochets into the chain.
- Turn and work back with slip stitches to create texture.
- Repeat this for 3 leaves.
- Attach the leaves to the top of the trunk using a tapestry needle.
Constructing the Pot
- Using your brown or beige yarn, chain 12.
- Work around the chain with single crochet, making sure to increase at the corners for a rounded shape.
- Continue working in rounds until the pot reaches your desired height.
- Create a bumpy texture by alternating single crochets and slip stitches.
FAQ
Q1: Can I use any type of yarn for this project?
A: Yes, but choose yarn that is suitable for small projects. Cotton yarn is recommended for a firmer structure.
Q2: How do I make the pot look rock-textured?
A: Use a combination of single crochet and slip stitches to create a bumpy texture, and consider using variegated yarn for a more natural appearance.
Q3: Can I add embellishments to my bonsai tree?
A: Absolutely! Consider adding small flowers or decorative stones to enhance the look.
Q4: How do I secure my stitches?
A: Always weave in your ends with a tapestry needle to prevent unraveling.
Q5: What if my stitches are too tight?
A: Try using a larger crochet hook or adjusting your tension.
Conclusion
Making a mini bonsai tree made of crochet is a rewarding project that allows you to practice essential crochet techniques while creating a charming decor item. Follow the steps outlined in this guide, and don’t forget to experiment with colors and textures to make your bonsai uniquely yours. Happy crocheting!