Introduction
Creating a stylish accessory can be both fun and rewarding, especially when you crochet your very own Herringbone Crossbody Bag. This beginner-friendly pattern utilizes the herringbone half double crochet stitch, resulting in a modern and elegant design that can complement any outfit.
Materials You’ll Need
- Yarn: Worsted weight cotton or acrylic (smooth yarn works best)
- Hook: 4.5 mm or 5 mm (choose based on your tension)
- Lining (optional): Fabric and sewing needle for a structured interior
- Zipper or Button: 8” zipper or a magnetic snap
- Bag Strap: Leather or fabric strap, or crochet your own
- Stitch Markers: Optional, for shaping and counting rows
- Scissors + Needle: For finishing and weaving ends
Yarn Information
For this project, you will need worsted weight yarn. Cotton or acrylic fibers are recommended for a smooth finish and durability.
Hook Size
A 4.5 mm or 5 mm crochet hook is ideal, depending on your personal tension.
Finished Size
The completed bag will measure approximately 9 in wide by 6 in tall, with an adjustable strap length of 40 to 50 in.
Difficulty Level
This pattern is classified as Beginner. You will be using basic stitches, including the herringbone half double crochet, making it accessible for new crocheters.
Abbreviations
- Hbhdc: Herringbone Half Double Crochet
- sc: Single Crochet
- sl st: Slip Stitch
Crochet Pattern / Step-by-Step Instructions
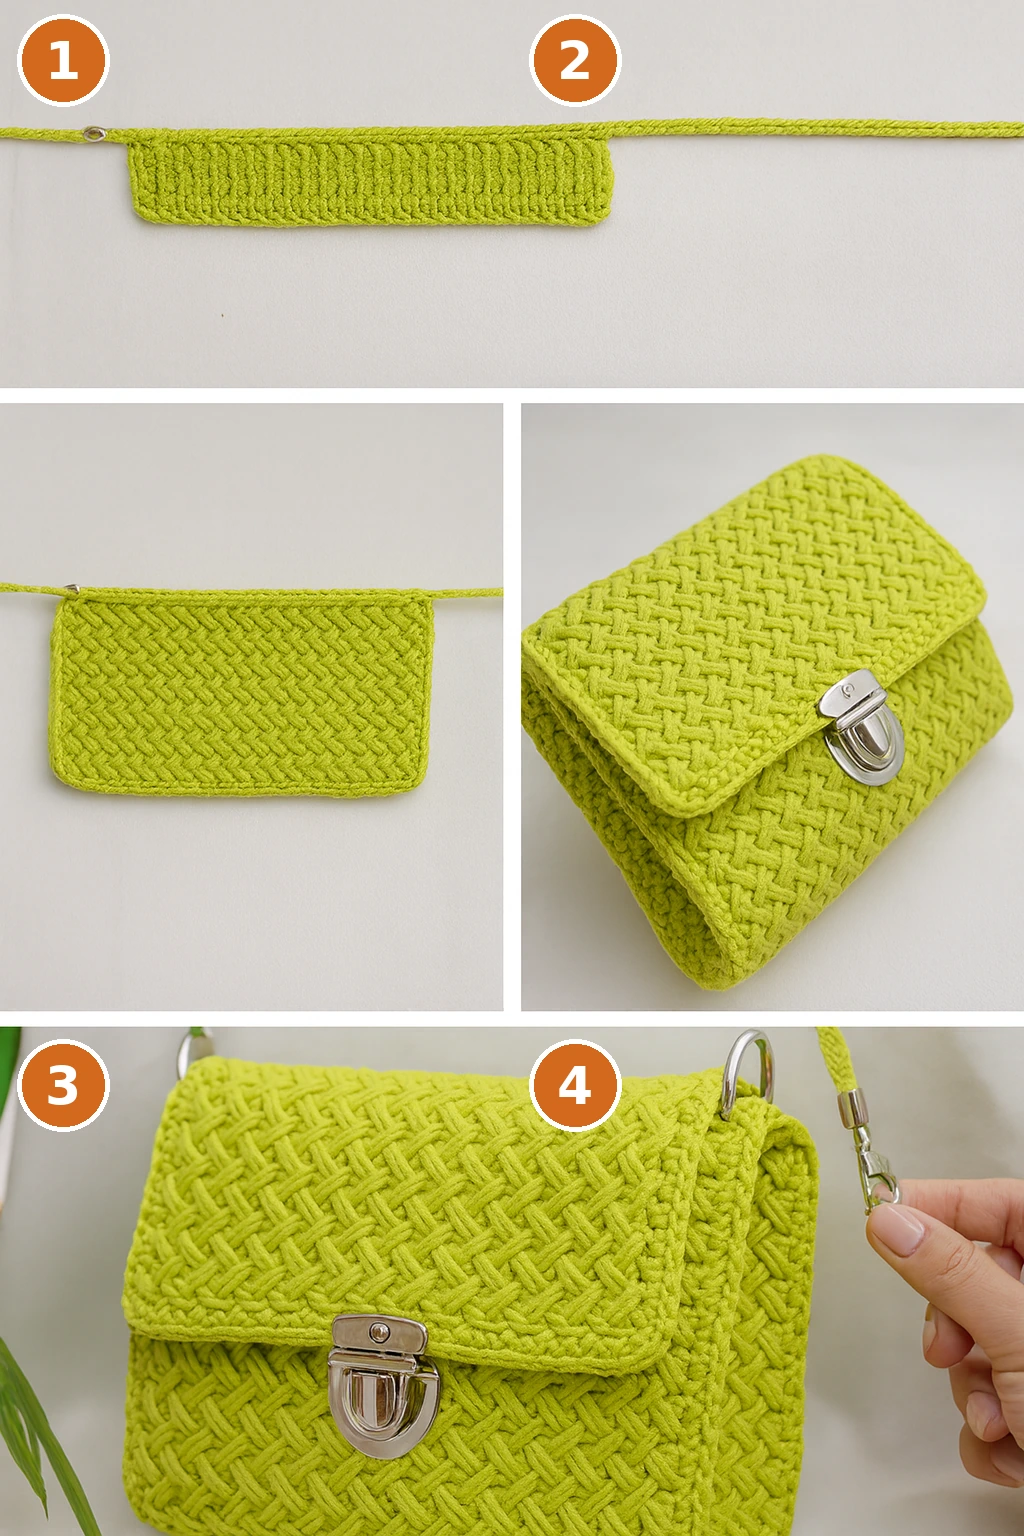
MAIN BAG BODY (Worked in a flat rectangle)
Foundation Chain: Ch 35 (or desired width).
Row 1: Hbhdc in 2nd ch from hook and across. (34 sts)
Rows 2–40: Ch 1, turn. Hbhdc in each st across for a total of 39 additional rows.
Assembly
- Fold the rectangle so the short sides meet, resembling a clutch.
- Leave ⅓ of the height for a flap if desired.
- Seam the sides using slip stitch or whip stitch.
Finishing
To give your bag a clean finish, work a round of single crochet all around the edge of the bag, including the flap.
Customization Ideas
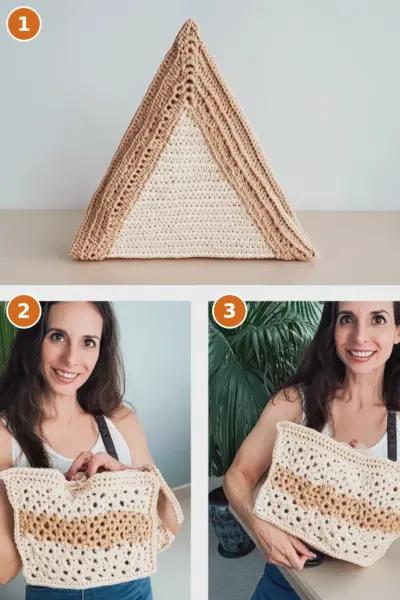
Feel free to add personal touches such as tassels, leather tags, or a small pocket inside. You can also explore color blocking or stripes within the herringbone rows for a unique look.
Helpful Tips
- Practice the Hbhdc stitch with a small swatch before starting your bag to get comfortable with the technique.
- Use stitch markers to keep your rows even and organized.
- Always check your gauge to ensure your bag turns out the right size.
Care Instructions
To maintain your bag, spot clean with a damp cloth. If using cotton yarn, remember to air dry it flat to prevent damage.
Frequently Asked Questions
Q: Can I use different types of yarn for this project?
A: Yes, but make sure to choose yarn that is similar in weight for the best results.
Q: How can I adjust the size of the bag?
A: To adjust the size, simply change the number of chains in the foundation chain and the row count accordingly.
Q: What should I do if I encounter difficulty with the Hbhdc stitch?
A: Consider practicing the stitch separately on a swatch until you feel confident before applying it to the bag.
Conclusion
With this crochet herringbone crossbody bag pattern, you can create a fashionable and functional accessory. Happy crocheting!