Introduction
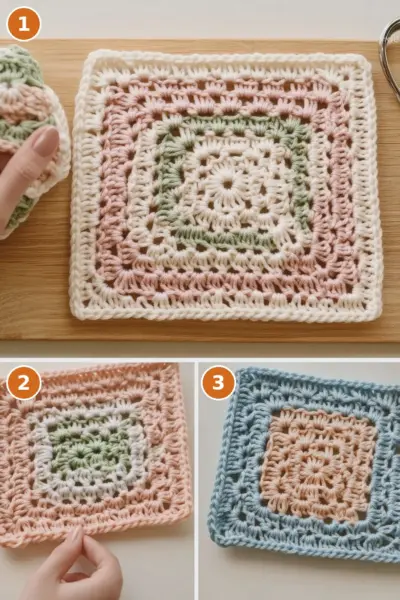
The Willow Granny Square is a delightful project that combines elegance and versatility. This crochet square can be incorporated into various projects, including blankets, bags, and garments. With its lacy design, it’s suitable for both beginners and more experienced crocheters. In this tutorial, we will guide you step-by-step through the process of creating this lovely square.
Materials You’ll Need
To make the Willow Granny Square, gather the following materials:
– Yarn: Choose DK (8ply) #3 or Worsted (10ply) #4 yarn. Each square will need approximately 25 meters (27 yards).
– Crochet Hook: Use a 3.5mm hook for DK yarn or a 4.5mm hook for worsted yarn.
– Other Tools: Scissors and a yarn needle for weaving in the ends.
Hook Size
Select a 3.5mm hook if you’re using DK yarn, or a 4.5mm hook for worsted yarn. This will ensure your stitches are the right size and the finished square looks neat.
Difficulty Level
This pattern is categorized as easy, making it accessible for beginners while still being enjoyable for more experienced crocheters.
Abbreviations
Familiarize yourself with the following crochet abbreviations used in the pattern:
– ch: chain
– sc: single crochet
– dc: double crochet
– sp: space
– rep: repeat
– sl st: slip stitch
– sk: skip
Crochet Pattern / Step-by-Step Instructions
Instructions for the Willow Granny Square
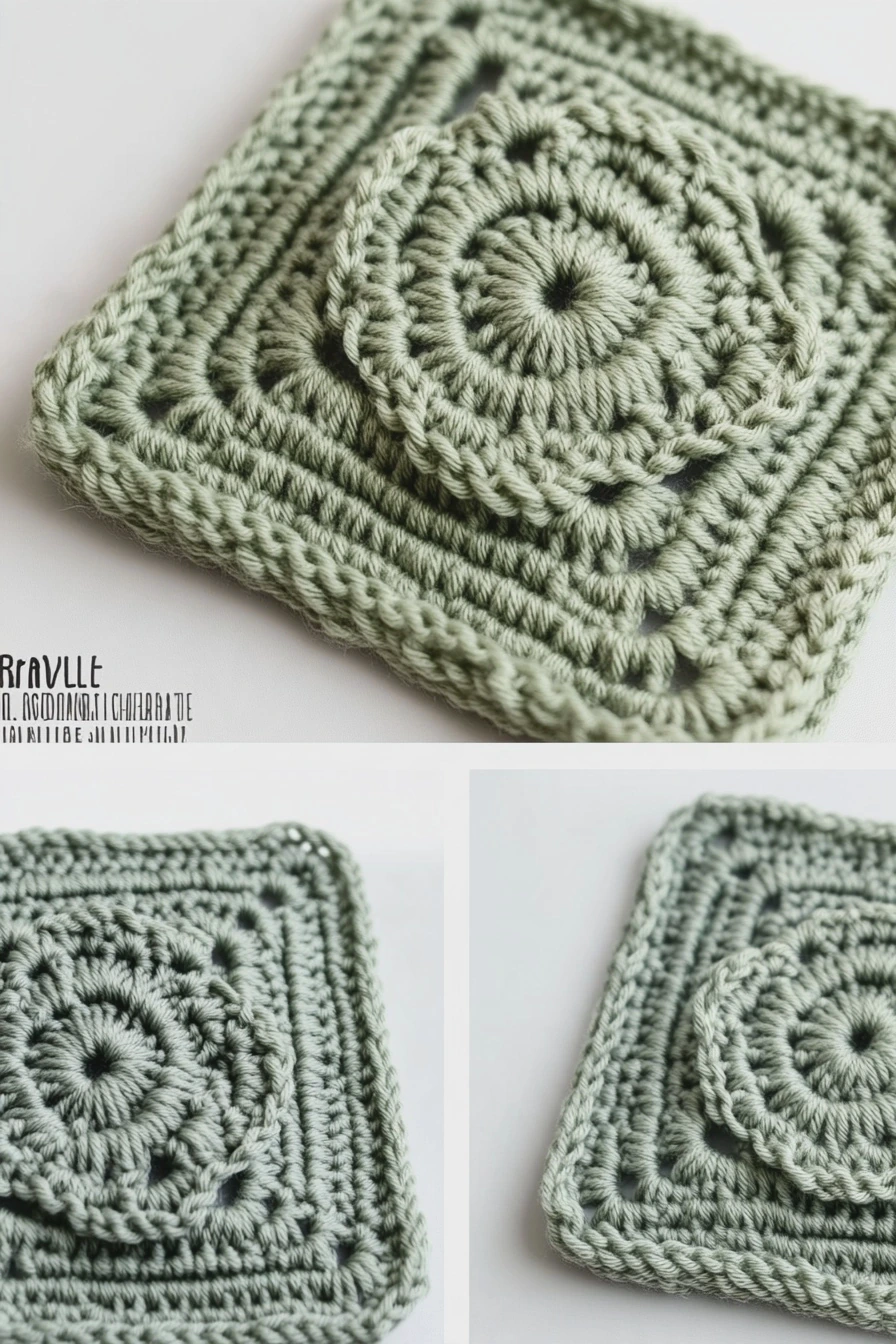
Rnd 1: Start with a magic ring, or chain 4 and join with a slip stitch to create a ring. Chain 3 (this counts as your first double crochet), then work 15 double crochets into the ring. You should have a total of 16 double crochets. Join with a slip stitch into the top of your starting chain 3.
Rnd 2: Chain 4 (this counts as 1 double crochet + 1 chain), and turn your work. Double crochet into the next double crochet, chain 1. Repeat from * to * around. Join with a slip stitch into the 3rd chain of your starting chain 4. You will have 16 double crochets and 16 chain-1 spaces.
Rnd 3: Chain 3 (this counts as your first double crochet), and turn your work. Work 2 double crochets into the next chain-1 space, then 1 double crochet into the next double crochet. Repeat from * to * around. In the last chain-1 space, work 2 double crochets. You should have a total of 48 double crochets. Join with a slip stitch into the top of your starting chain 3.
Rnd 4: Chain 1, and turn your work. Chain 5, skip 2 stitches, single crochet in the next stitch. Chain 3, skip 2 stitches, single crochet in the next stitch. Chain 4, skip 2 stitches, single crochet in the next stitch. Chain 3, skip 2 stitches, single crochet in the next stitch. Repeat from * to * 3 more times. You will have a total of 16 chain spaces. Finish with a chain 3 and join with a slip stitch into your starting chain.
Rnd 5: Slip stitch twice to reach the center of the nearest chain-5 space. Chain 3 (this counts as 1 double crochet), then work 4 double crochets into the same space. Chain 2, then work 5 double crochets into the same space again. This forms your first corner. Single crochet into the next chain-3 space, then work 7 double crochets into the next chain-4 space, and single crochet into the next chain-3 space. In the next chain-5 space: work 5 double crochets, chain 2, and 5 double crochets (this forms another corner). Repeat from * to * around. Join with a slip stitch into the top of your starting chain 3.
Rnd 6: Turn your work. Slip stitch into the next stitch. Chain 6 (this counts as 1 double crochet + 3 chains), skip 3 double crochets, and single crochet in the next stitch. Chain 3, skip 3 double crochets, and double crochet in the next stitch. Chain 4, single crochet into the corner space, chain 2, single crochet into the same corner. Chain 4, skip 5 double crochets, and double crochet into the next single crochet. Chain 3, skip 3 double crochets, and single crochet into the next double crochet. Chain 3, skip 3 double crochets, and double crochet into the next single crochet. Repeat from * to * 2 more times, working on the corners and sides. After the final side, work your last chain 4, then join with a slip stitch into the 3rd chain of your starting chain 6.
Rnd 7: Chain 3 (this counts as 1 double crochet), and turn your work. Work 4 double crochets into the first chain-4 space. In the corner space, work 3 double crochets, chain 2, and 3 double crochets. Then, in the next chain-4 space, crochet 5 double crochets. In each of the next two chain-3 spaces, add 3 double crochets into each. Finally, work 5 double crochets into the next chain-4 space. Repeat from * to * around the square. Join with a slip stitch to the top of your starting chain 3.
Rnd 8: Chain 1, and turn your work. Single crochet in each stitch across. In each corner: work 2 single crochets, chain 2, and 2 single crochets. Repeat from * to * around. Slip stitch into the first stitch and fasten off. Weave in any loose ends.
Finishing
Once you complete the square, fasten off and weave in any loose ends with a yarn needle. Your Willow Granny Square is now ready for use in your next project!
Conclusion
The Willow Granny Square is a rewarding project that can be used in a variety of ways. Whether you’re creating a blanket or a bag, this square will add a touch of charm to your crochet collection. Enjoy your crocheting journey!