Introduction
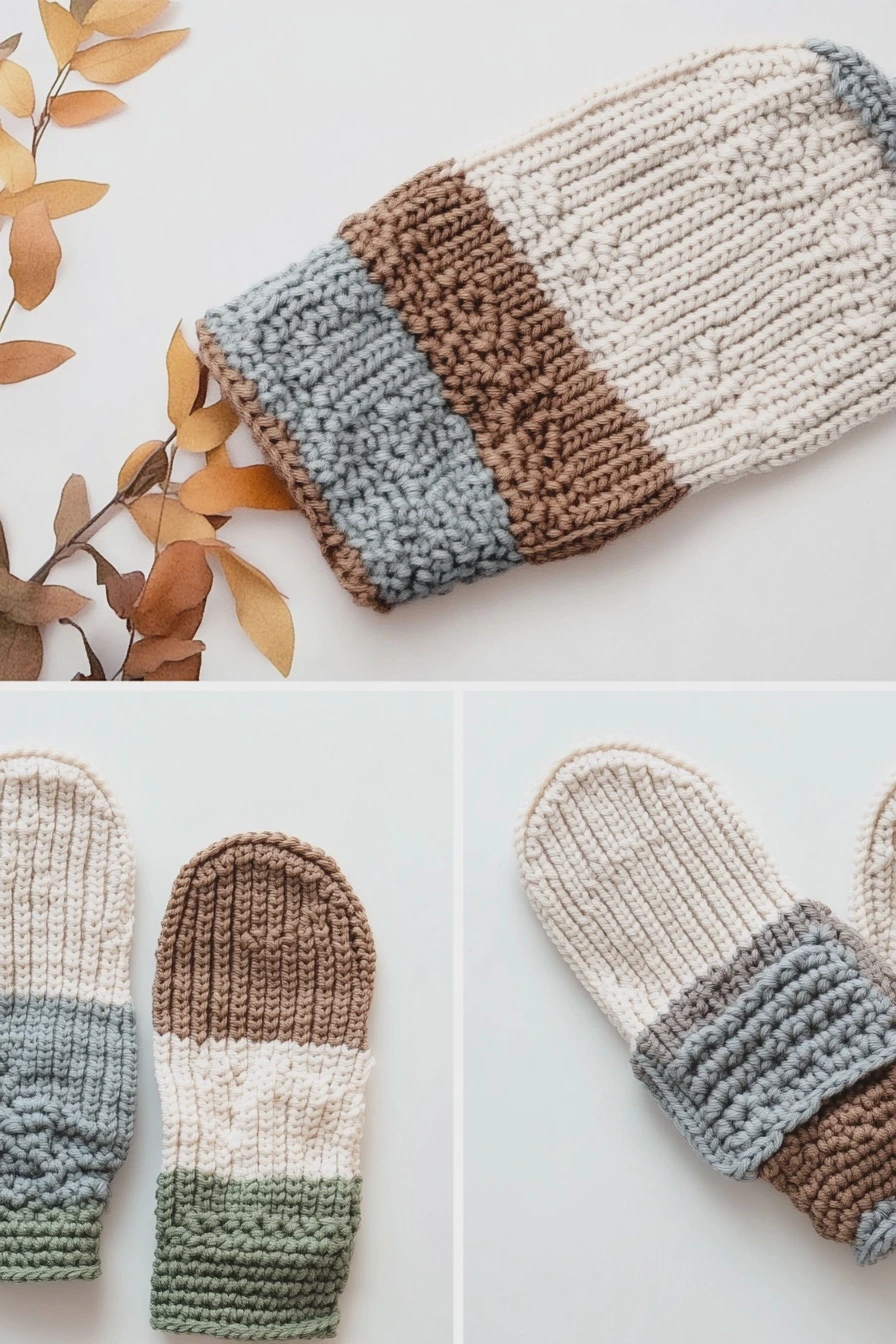
The Winter Wheat Flat Crochet Mittens pattern is designed for anyone looking to create a cozy and stylish accessory. This pattern features a lovely textured Wheat Stitch and is ideal for all skill levels, making it a perfect choice for quick gifts or family sets.
Materials You’ll Need
- Yarn: 60 (100, 175) (210, 250, 270) yds of Lion Brand Color Theory 100% Acrylic or Herrschners Worsted 8 Heathers Yarn, both in various colors.
- Hook Size: Size US G (4.0mm) & G+/7 (4.5mm) Crochet Hook or hooks that help achieve the correct gauge.
- Other Tools: Scissors, Yarn Needle, Removable Stitch Marker.
Difficulty Level
This pattern is classified as Advanced Beginner, as it employs basic stitches like single crochet and puff stitch, and is constructed entirely flat with just a single straightforward seam.
Abbreviations
- blo: back loop only
- ch: chain
- flo: front loop only
- RS: right side
- sc: single crochet
- sc2tog: single crochet 2 together
- sl st: slip stitch
- st(s): stitch(es)
- WS: wrong side
Gauge
17 sts and 14 rows = 4 in by 4 in in Rows 3-6 of the pattern stitch.
Pattern Notes
- A chain 1 at the start of each row does not count as a stitch.
- It is advisable to place a stitch marker at both the start and end of each row.
- The initial row of stitches should be created in the back humps of the foundation chain.
- The single crochet stitches at the start and end of rows are worked as usual.
Crochet Pattern / Step-by-Step Instructions
Toddler First Thumb Section
- Row 1: Ch 33, sc in the 2nd ch from the hook and in each st across, turn. (32 sts)
- Row 2: Ch 1 (turning ch does not count as a st throughout), blo sc 18, [skip the next st, sc in next, work a puff st into the skipped st] work until the last 2 sts, sc in next, 2 sc in last, turn. (33 sts)
- Row 3: Ch 1, sc2tog, blo sc in each st across, turn. (32 sts)
Body Section
- Row 1 (RS): Ch 1, blo sc 25, leave the remaining sts unworked and foundation sc 12, turn. (37 sts)
- Row 2: Ch 1, 2 sc in first, [skip the next st, sc in next, work a puff st into the skipped st] work until the last 18 sts, blo sc 18, turn. (38 sts)
- Row 3: Ch 1, blo sc 18, [skip the next st, sc in next, work a puff st into the skipped st] work until the last 2 sts, sc in next, 2 sc in last, turn. (39 sts)
- Row 4: Ch 1, blo sc in each st across, turn. (39 sts)
- Row 5: Ch 1, blo sc in each st across until the last 2 sts, sc2tog, turn. (38 sts)
- Row 6: Ch 1, sc2tog, [skip the next st, sc in next, work a puff st into the skipped st] work until the last 18 sts, blo sc 18, turn. (37 sts)
- Row 7: Ch 1, blo sc 18, [skip the next st, sc in next, work a puff st into the skipped st] work until the last 3 sts, sc in next, sc2tog, turn. (36 sts)
- Row 8: Ch 1, sc2tog, blo sc in each st across, turn. (35 sts)
- Row 9: Ch 1, blo sc in each st across, turn. (35 sts)
- Row 10: Ch 1, 2 sc in first, [skip the next st, sc in next, work a puff st into the skipped st] work until the last 18 sts, blo sc 18, turn. (36 sts)
- Row 11: Ch 1, blo sc 18, [skip the next st, sc in next, work a puff st into the skipped st] work until the last 2 sts, sc in next, 2 sc in last, turn. (37 sts)
- Row 12: Ch 1, 2 sc in first, blo sc in each st across, turn. (38 sts)
- Row 13: Ch 1, blo sc in each st across until the last st, 2 sc in last, turn. (39 sts)
- Row 14: Ch 1, sc2tog, sc in next, [skip the next st, sc in next, work a puff st into the skipped st] work until the last 18 sts, blo sc 18, turn. (38 sts)
- Row 15: Ch 1, blo sc 18, [skip the next st, sc in next, work a puff st into the skipped st] work until the last 2 sts, sc2tog, turn. (37 sts)
- Row 16: Ch 1, sc2tog, blo sc in each st across, turn. (36 sts)
Second Thumb Section
- Row 1: Ch 1, blo sc 25, leave the remaining sts unworked and foundation sc 7, turn. (32 sts)
- Row 2: Ch 1, 2 sc in first, sc in next, [skip the next st, sc in next, work a puff st into the skipped st] work until the last 18 sts, blo sc 18, turn. (33 sts)
- Row 3: Ch 1, blo sc in each st across until the last 2 sts, sc2tog; fasten off and weave in end. Go to Finishing. (32 sts)
Finishing
- Fold the mitten in half to set up for seaming, ensuring that the correct side is facing outward. Be sure to keep the same side facing out for the second mitten.
- For any mitten that concludes with the last row situated at the thumb tip, fasten off, weave in the end, and then reattach the yarn at the bottom cuff edge.
- To join the pieces, insert your hook through the front loop of the first stitch closest to you, and then into the back loop of the corresponding stitch farthest from you. Yarn over and slip stitch to connect. Proceed to work up the side of the mitten, around the thumb, along the fingers, and across the top. Maintain loose and consistent slip stitches throughout.
- Finally, fasten off and weave in all ends.
Helpful Tips
- If you find it challenging to keep track of your rows, using a stitch marker can help ensure you don’t miss any stitches.